From DEM to 3D-printable STL with Python and NumPy
Stream a Copernicus 30 m DEM of the Edale valley, reproject it to British National Grid, scale it to a 150 mm print and write a watertight binary STL using only NumPy, with checks that prove the mesh is printable.
- Level
- Intermediate
- Tested with
- Python 3.8
- Source code
- Download scripts
Key takeaways
- About 100 lines of Python turn a streamed Copernicus GLO-30 DEM into a 3D-printable binary STL; no mesh library is needed, only NumPy and rioxarray.
- Reproject to a metric CRS (British National Grid here) first so every cell is a true 30 × 30 m square; geographic cells at 53°N would squash the model.
- A closed solid is a surface, a base with reversed winding and side walls. It is watertight when every undirected edge is shared by exactly two triangles.
- A NumPy structured dtype writes the whole binary STL in one call: 84 bytes of header plus 50 bytes per triangle.
Before you start
- Python 3.8+ with numpy, rasterio, rioxarray and matplotlib
- Basic NumPy array indexing
- An internet connection (the DEM is streamed from a public cloud-optimised GeoTIFF)
- Optional: a slicer such as PrusaSlicer, Cura or Bambu Studio to print the result
Our earlier post on creating a 3D-printed DEM in QGIS used QGIS plugins to turn terrain into something you can hold. This tutorial does the same job in about 100 lines of Python. The script is repeatable, so changing the area, scale or exaggeration is a one-line edit. It is also transparent: you’ll see exactly how a height grid becomes a closed triangle mesh, and you’ll verify that the mesh is watertight before you waste a spool of filament.
We’ll model the Edale valley in the Peak District. Kinder Scout’s plateau sits to the north and the Great Ridge (Mam Tor to Lose Hill) to the south, so there is plenty of relief in a 12 × 9 km box.
The steps are:
- stream and reproject a Copernicus GLO-30 DEM;
- convert metres to printable millimetres;
- triangulate a closed solid (surface, base and walls) with vectorised NumPy;
- check the mesh is watertight and consistently oriented;
- write and re-read a binary STL.
Only NumPy and rioxarray are needed: no mesh library. The full script is dem_to_stl.py.
Step 1: get the DEM in a metric CRS
The Copernicus DEM is published as one cloud-optimised GeoTIFF per 1° tile on AWS. rioxarray reads only the bytes it needs. We clip a generous lon/lat window, reproject to British National Grid so that every cell is a true 30 × 30 m square, and then clip the exact study area:
DEM_URL = ("https://copernicus-dem-30m.s3.amazonaws.com/"           "Copernicus_DSM_COG_10_N53_00_W002_00_DEM/Copernicus_DSM_COG_10_N53_00_W002_00_DEM.tif")AOI_BNG = (406_000, 380_000, 418_000, 389_000)   # 12 x 9 km: Kinder plateau, Edale, Mam Tor
dem = rioxarray.open_rasterio(DEM_URL, masked=True).squeeze("band", drop=True)dem = dem.rio.clip_box(-1.95, 53.30, -1.70, 53.45).load() # generous lon/lat windowdem = dem.rio.reproject("EPSG:27700", resolution=30, resampling=Resampling.bilinear)dem = dem.rio.clip_box(*AOI_BNG)z = dem.values.astype("float64")=== DEM ===shape (rows, cols): (301, 401) | resolution: (30.0, -30.0)NaNs: 0elevation range: 158.0 - 634.5 m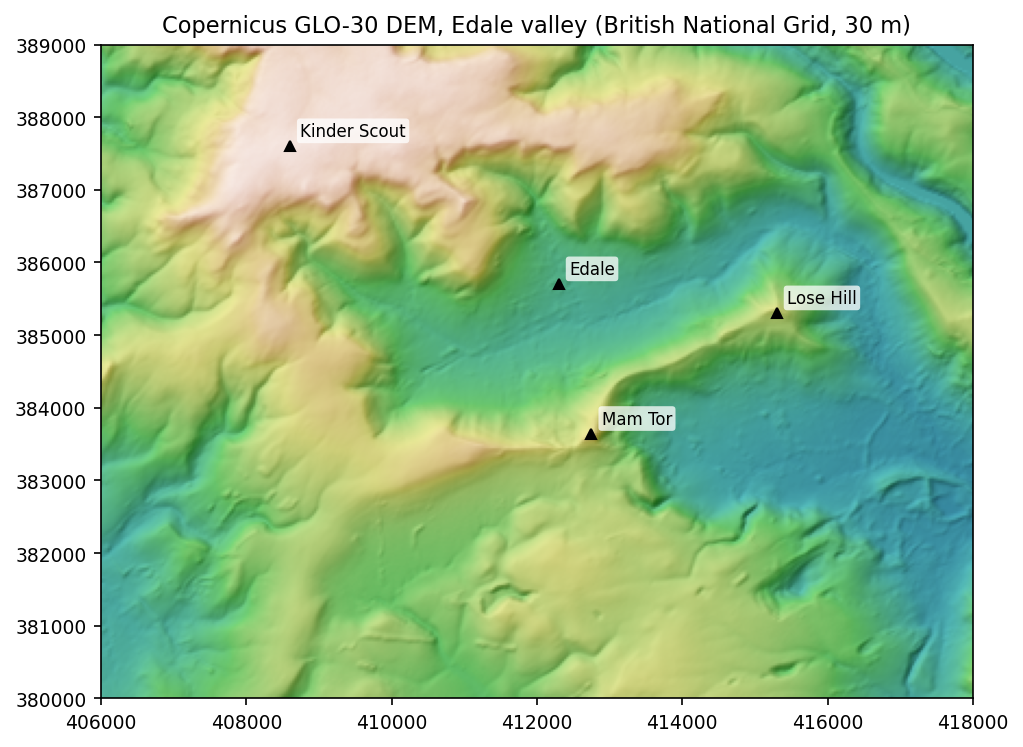
Reprojecting first matters. In geographic coordinates a 1-arc-second cell is about 31 m north–south but only about 18 m east–west at 53°N. A mesh built on those cells would be squashed. If you prefer, the raster tutorial covers this data source and reprojection in more depth.
Step 2: from metres to millimetres
A printer works in millimetres, so we choose the printed size of the longest side and derive everything else from it. A vertical exaggeration of 2x makes moderate relief readable, and a 4 mm plinth gives the model a solid base:
MODEL_WIDTH_MM = 150.0Z_EXAGGERATION = 2.0BASE_MM = 4.0
rows, cols = z.shapecell_m = abs(dem.rio.resolution()[0])width_m, height_m = (cols - 1) * cell_m, (rows - 1) * cell_mscale = MODEL_WIDTH_MM / max(width_m, height_m)        # mm per metre
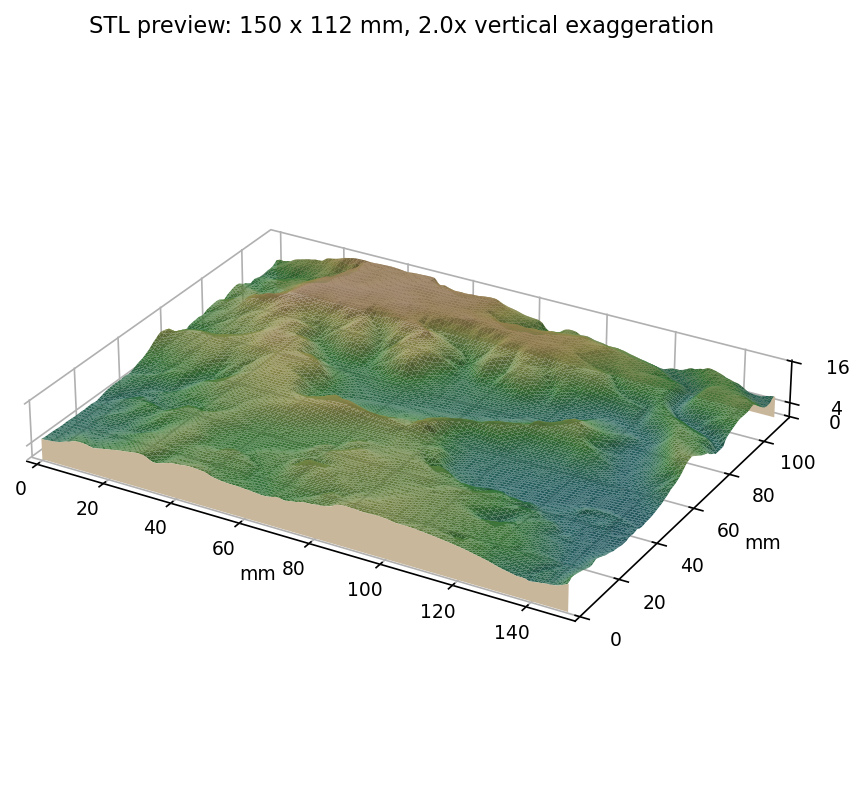
x = np.arange(cols) * cell_m * scaley = (rows - 1 - np.arange(rows)) * cell_m * scale # row 0 is north -> largest yX, Y = np.meshgrid(x, y)Z = BASE_MM + (z - np.nanmin(z)) * scale * Z_EXAGGERATION=== model scale ===ground extent: 12.00 x 9.00 kmhorizontal scale: 1:80,000cell size on the print: 0.375 mmmodel size: 150.0 x 112.5 x 15.9 mm (W x D x H)A 0.375 mm cell is close to a typical 0.4 mm nozzle width, so the 30 m DEM is a good match for this print size. Finer data would add triangles without adding printable detail.
Step 3: triangulate a closed solid
An STL is just a list of triangles. To be printable, the triangles must enclose a volume with no holes: the mesh must be watertight. We build three parts.
The surface. Each grid cell becomes two triangles. Rather than looping over 120,000 cells, we compute the four corner indices of every cell as arrays:
def grid_triangles(r: int, c: int) -> np.ndarray: """Vertex indices for two counter-clockwise triangles per grid cell (viewed from above).""" idx = np.arange(r * c).reshape(r, c) a, b = idx[:-1, :-1].ravel(), idx[:-1, 1:].ravel() # top-left, top-right d, e = idx[1:, :-1].ravel(), idx[1:, 1:].ravel() # bottom-left, bottom-right # y decreases with row, so (a, d, b) and (b, d, e) are anticlockwise from above return np.concatenate([np.column_stack([a, d, b]), np.column_stack([b, d, e])])The base. We copy every vertex at z = 0 and reuse the same triangles with the winding reversed, so their normals point down:
top_v = np.column_stack([X.ravel(), Y.ravel(), Z.ravel()])bot_v = top_v.copy()bot_v[:, 2] = 0.0verts = np.vstack([top_v, bot_v])n = rows * colstri_top = grid_triangles(rows, cols)tri_bottom = tri_top[:, ::-1] + n # reversed winding -> faces downThe walls. We walk the outer ring of grid vertices clockwise (seen from above) and join each edge to the matching base edge with two triangles:
idx = np.arange(n).reshape(rows, cols)ring = np.concatenate([idx[0, :], idx[1:, -1], idx[-1, -2::-1], idx[-2:0:-1, 0]])p, q = ring, np.roll(ring, -1)walls = np.concatenate([np.column_stack([p, q, p + n]), np.column_stack([q, q + n, p + n])])triangles = np.vstack([tri_top, tri_bottom, walls])=== mesh ===vertices: 241,402 triangles: 482,800 (surface 240,000, base 240,000, walls 2,800)The counts check out: 400 × 300 cells × 2 = 240,000 surface triangles, and the ring has 2 × (401 + 301) − 4 = 1,400 edges, each producing 2 wall triangles.
Step 4: prove it’s printable
Slicers will often “repair” a broken mesh silently, so it is better to check it yourself. A closed, consistently oriented triangle mesh has two properties that are easy to test with np.unique:
- every undirected edge is shared by exactly two triangles (no holes or flaps);
- every directed edge appears exactly once, because a neighbouring triangle traverses the shared edge in the opposite direction (consistent winding).
edges = np.concatenate([triangles[:, [0, 1]], triangles[:, [1, 2]], triangles[:, [2, 0]]])_, und_counts = np.unique(np.sort(edges, axis=1), axis=0, return_counts=True)_, dir_counts = np.unique(edges, axis=0, return_counts=True)print("watertight:", bool((und_counts == 2).all()), "| consistently oriented:", bool((dir_counts == 1).all()))
tri_xyz = verts[triangles]                                 # (n_tri, 3 vertices, xyz)normals = np.cross(tri_xyz[:, 1] - tri_xyz[:, 0], tri_xyz[:, 2] - tri_xyz[:, 0])volume_mm3 = np.einsum("ij,ij->i", tri_xyz[:, 0], np.cross(tri_xyz[:, 1], tri_xyz[:, 2])).sum() / 6
The volume uses the divergence theorem: sum the signed volumes of the tetrahedra formed by each triangle and the origin. A positive total confirms the normals face outwards. If they faced inwards, the total would be negative.
watertight: True | consistently oriented: Trueenclosed volume: 156.2 cm³ (positive = outward-facing normals)Step 5: write a binary STL with NumPy
The binary STL format is simple:
- an 80-byte header;
- a
uint32triangle count; - 50 bytes per triangle: a normal (3 × float32), three vertices (9 × float32) and a 2-byte attribute.
A NumPy structured dtype describes that layout exactly, so the whole file is written in one call:
lengths = np.linalg.norm(normals, axis=1, keepdims=True)unit = np.divide(normals, lengths, out=np.zeros_like(normals), where=lengths > 0)record = np.dtype([("normal", "<f4", 3), ("v", "<f4", (3, 3)), ("attr", "<u2")])data = np.zeros(len(triangles), dtype=record)data["normal"], data["v"] = unit, tri_xyzwith open(stl_path, "wb") as f: f.write(b"TechnicalGIS Edale DEM - Copernicus GLO-30".ljust(80, b" ")) f.write(np.uint32(len(data)).tobytes()) f.write(data.tobytes())Then we read the file back with the same dtype to prove it is valid:
=== STL ===wrote edale_kinder_mam_tor.stl: 24.1 MB, 482,800 facetsread back: 482800 facets | bounding box (mm): [0. 0. 0.] -> [150. 112.5 15.9]84 + 482,800 × 50 bytes = 24.1 MB, exactly as expected. The bounding box is the model size we designed in step 2.

Printing tips
- Orientation: print flat on the plinth. The surface has no overhangs, so no supports are needed.
- Layer height: 0.1–0.15 mm layers capture the subtle valley floor. At 0.3 mm the gentle Hope Valley floor, under 1 mm above the plinth, becomes a few visible steps.
- Infill: 10–15 % is plenty, since the plinth and walls do the structural work.
- File size: at 24 MB the STL is fine for any slicer. To share it, export to 3MF or decimate it in MeshLab or Blender.
- Bigger areas: keep the cell size on the print around 0.3–0.5 mm by resampling the DEM, e.g.
dem.rio.reproject(..., resolution=60)to cover twice the ground extent at the same print size.
Next steps
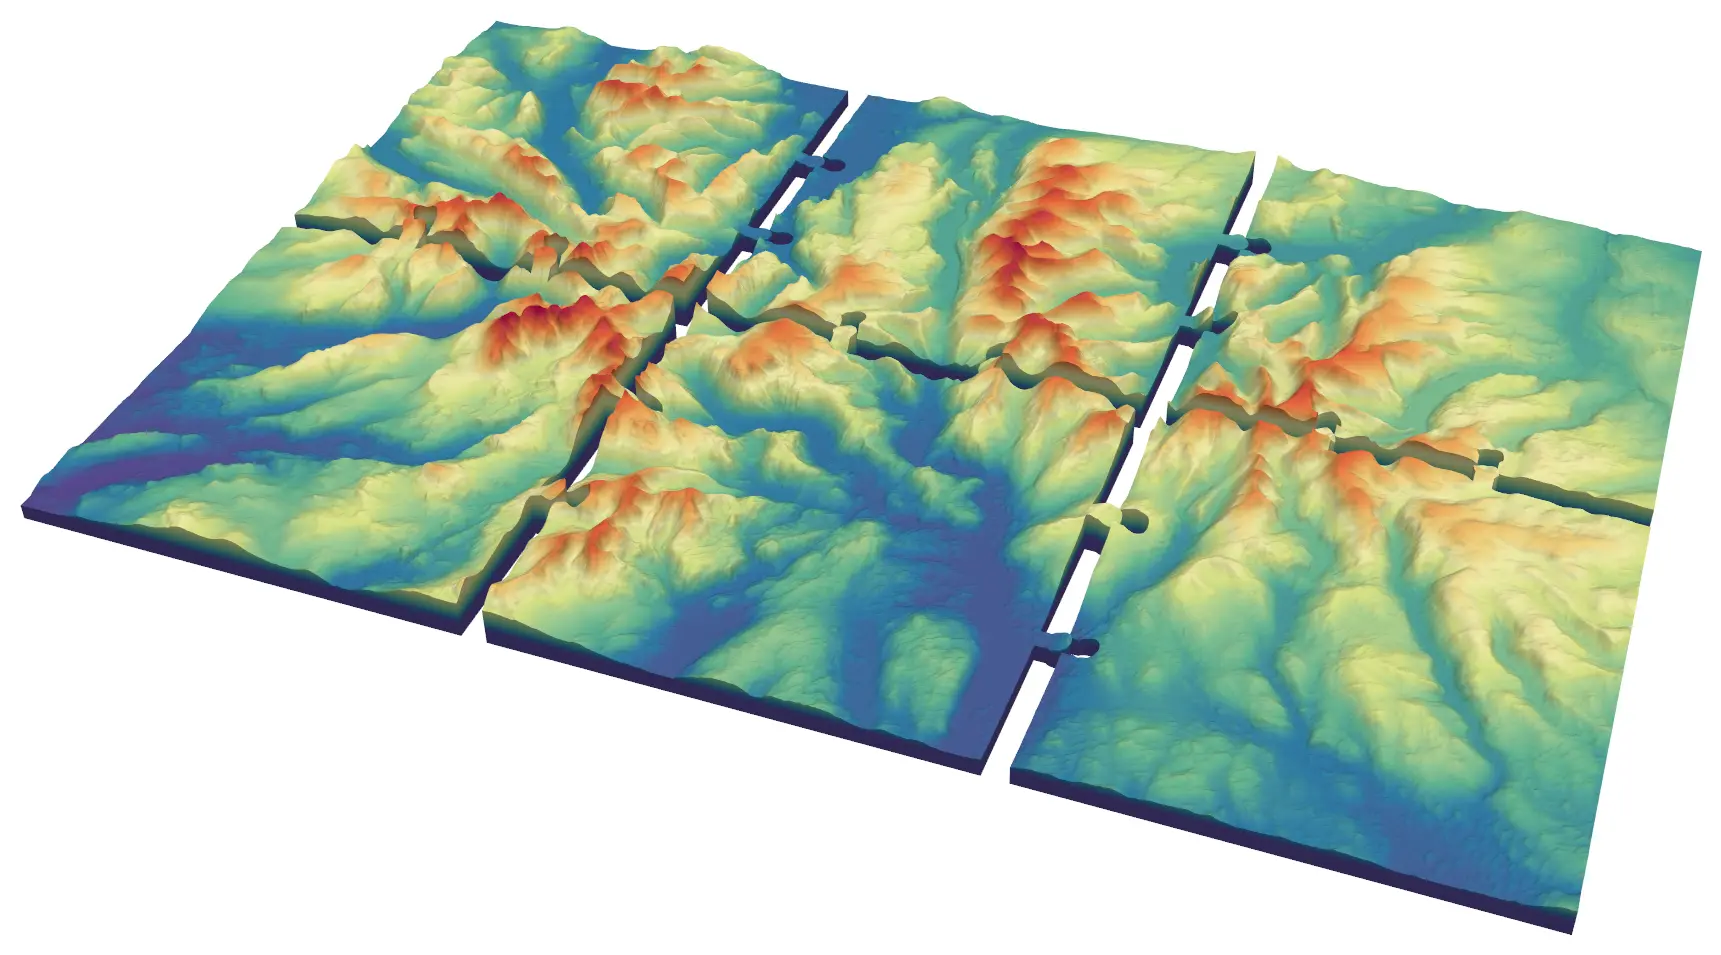
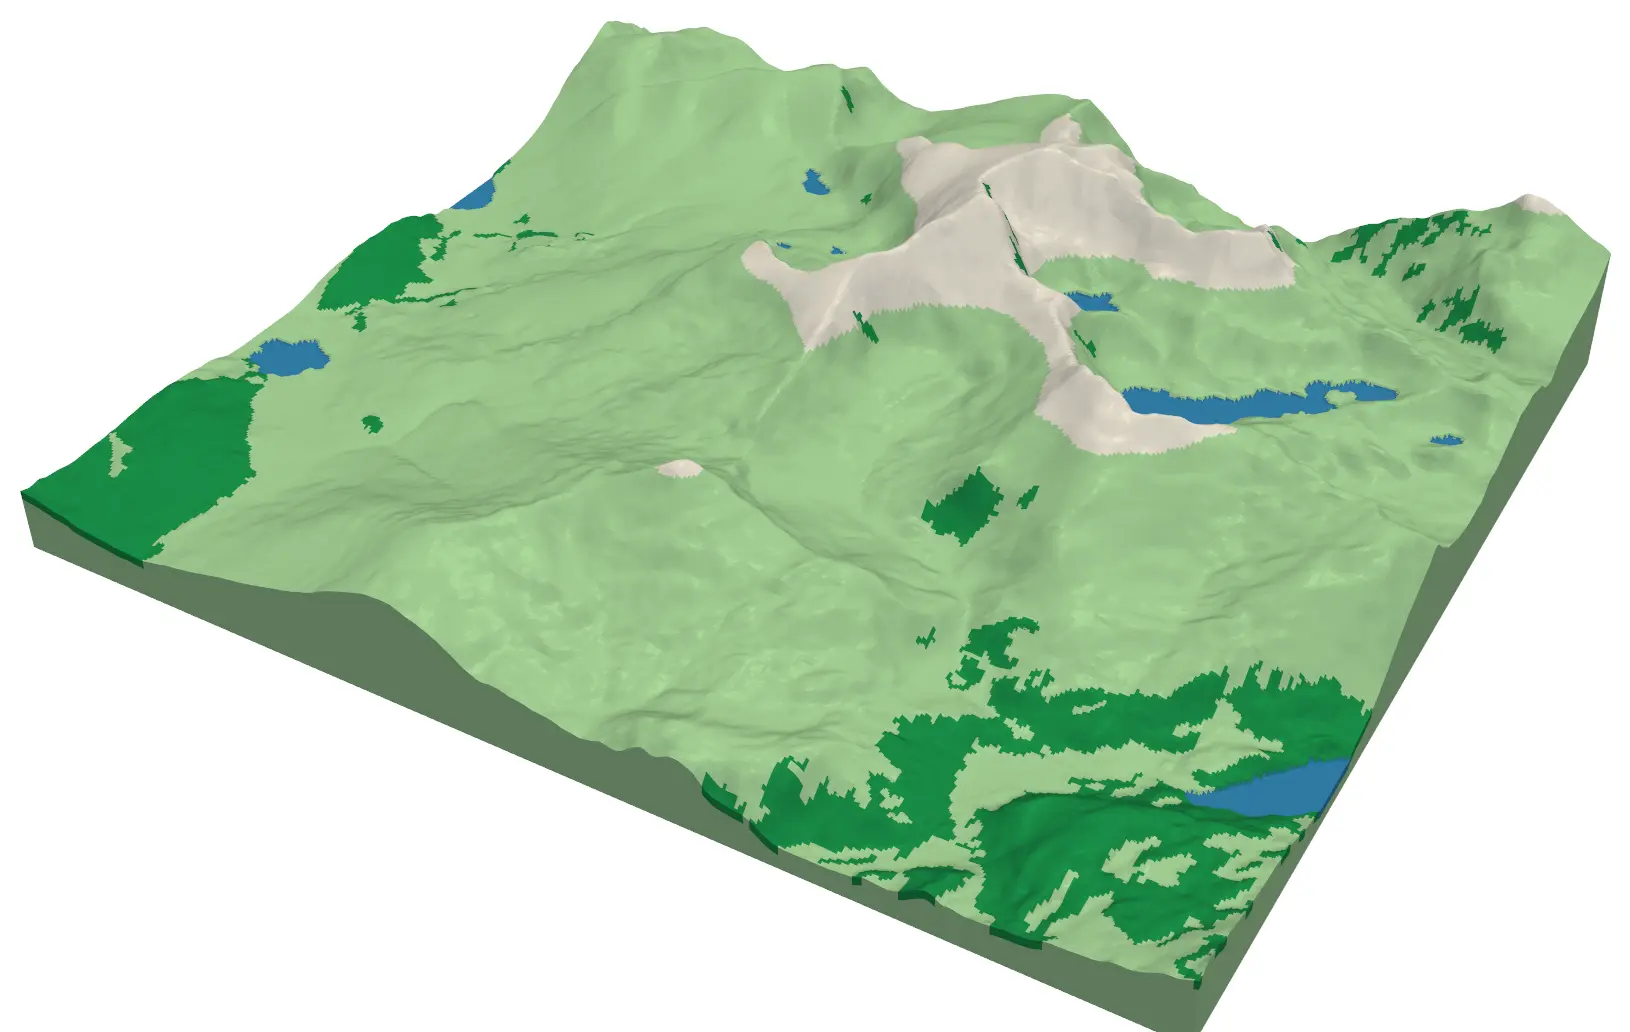
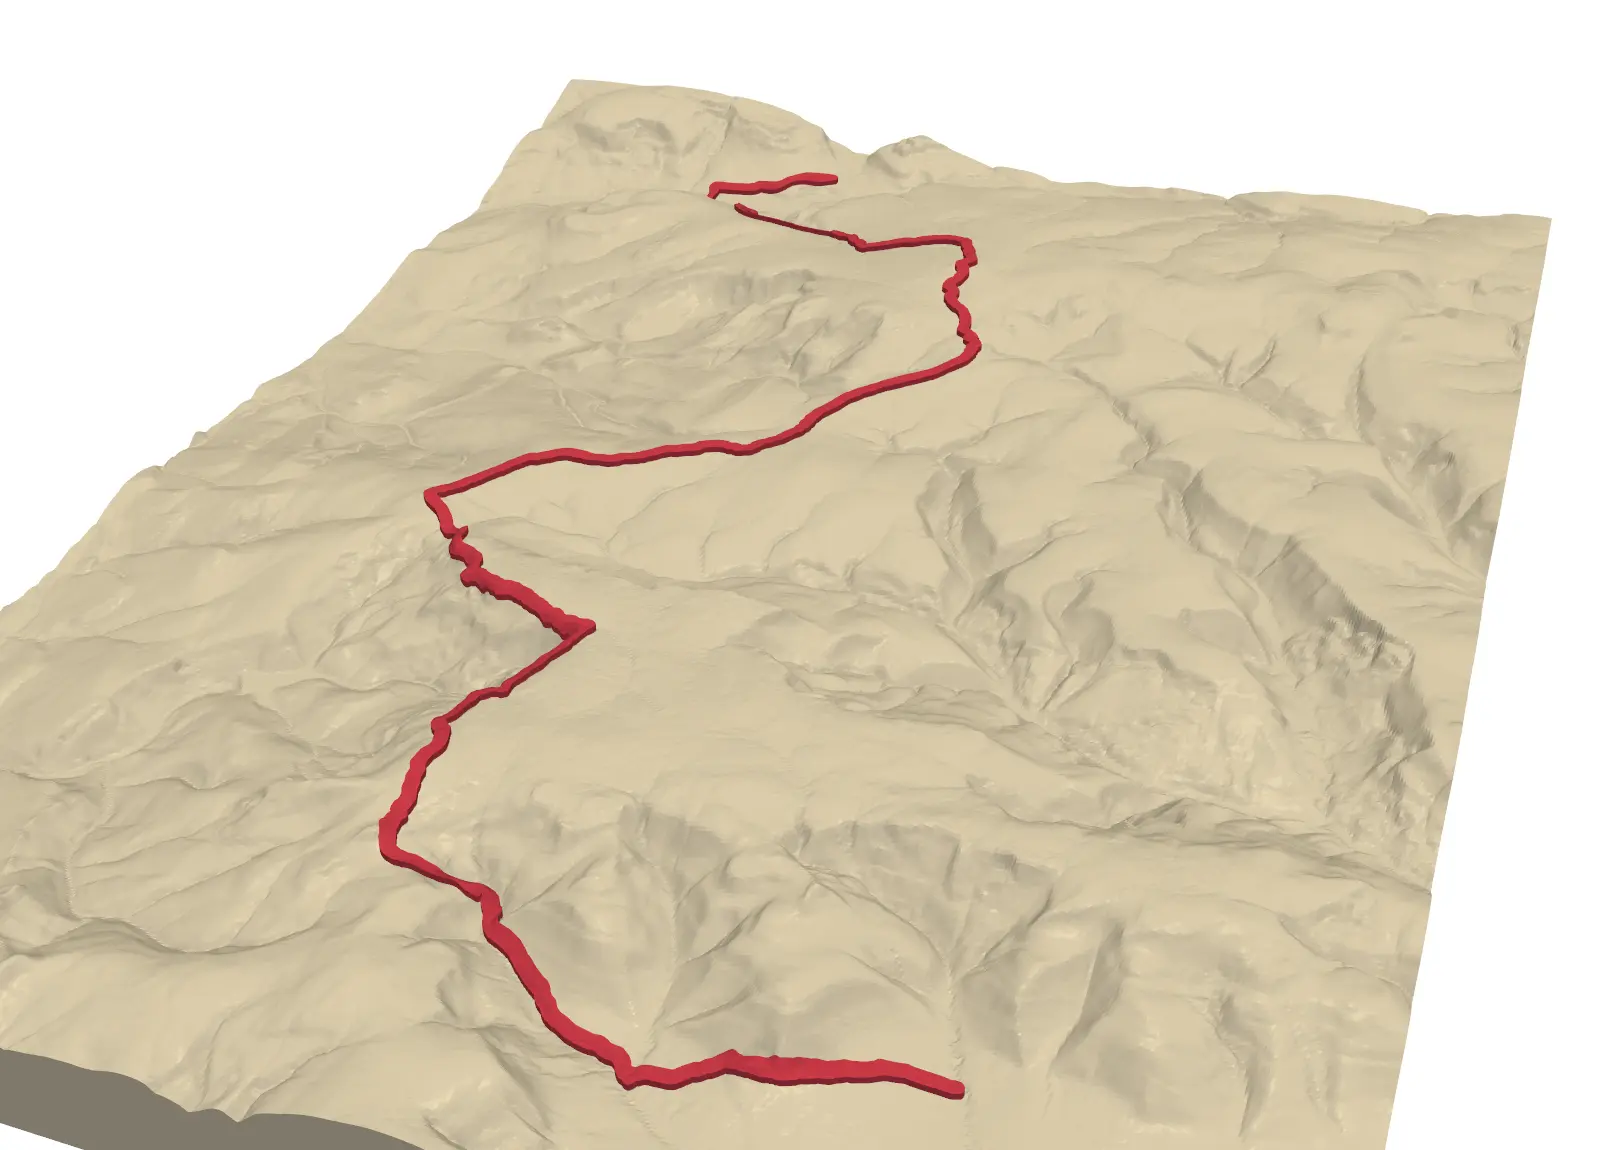
- This is part 1 of 3D-printed maps with Python. Carry on with Part 2, a GPX route on terrain, raised, engraved or inlaid in a second colour; Part 3, multi-colour prints, with one watertight part per colour; Part 4, a city model from OpenStreetMap buildings on LiDAR; and Part 5, tiling large regions with jigsaw joints or dowels.
- For a different take on a city, make a 1 m DSM with buildings and trees in LiDAR point clouds in Python with laspy and feed it into the same mesh code.
- Compare with the QGIS approach and see which workflow suits you.
- Find out what can be seen from the summit of your model with viewshed analysis in Python.
- Explore the terrain on screen before you print it: 3D terrain visualisation with PyVista drapes Sentinel-2 imagery and a GPX route over a LIDAR DEM and renders a rotating MP4.
- Add what lies underground: 3D borehole logs from AGS4 data places real ground investigation logs under the same Environment Agency LIDAR terrain, a first step towards printing a ground model.
Data and licences
- Copernicus DEM GLO-30: © DLR e.V. 2010–2014 and © Airbus Defence and Space GmbH 2014–2018, provided under COPERNICUS by the European Union and ESA; all rights reserved. Accessed from the AWS Open Data registry.
- Code:
dem_to_stl.py, tested with Python 3.8.10, numpy 1.23.4, rasterio 1.3.11 and rioxarray 0.13.4.
Key terms
- DEM / DSM
- A digital elevation model is a raster of heights. Copernicus GLO-30 is a digital surface model (DSM), so it includes trees and buildings; a DTM is bare earth.
- STL
- A 3D file format that stores a mesh as a list of triangles, each with a normal and three vertices. Slicers turn it into printer instructions.
- Watertight mesh
- A triangle mesh that encloses a volume with no holes: every edge is shared by exactly two triangles.
- Vertical exaggeration
- A multiplier applied to heights (2x here) so moderate relief stays readable on a small print.
Data for this tutorial
- Copernicus DEM (GLO-30 / GLO-90) · Global 30 m elevation, free with attribution
- GIS data sources for the United Kingdom
Licences and formats for each source are listed in the GIS data sources catalogue.